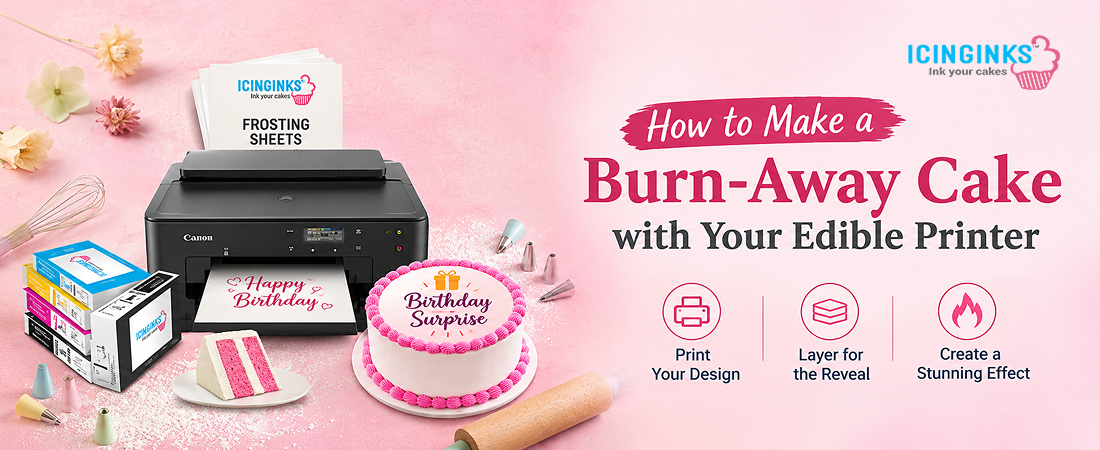
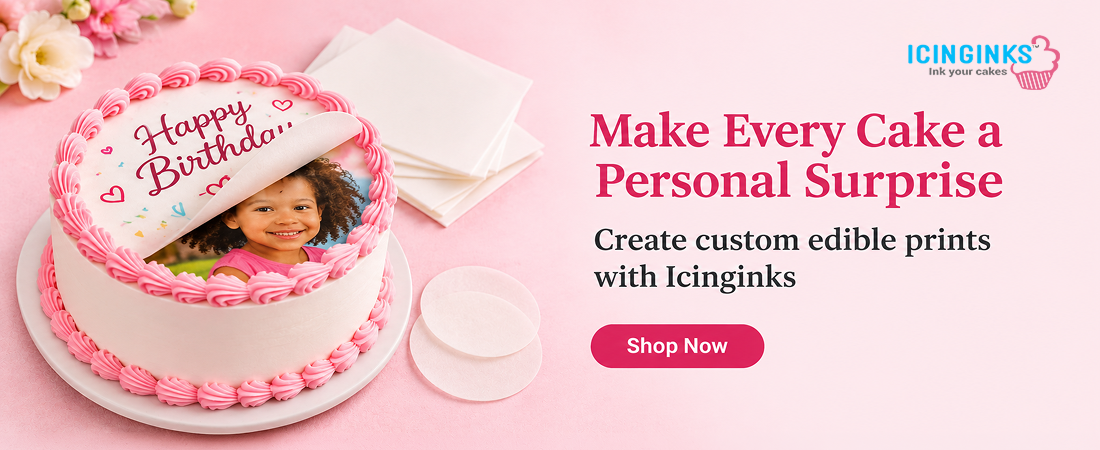
A burn-away cake adds an unexpected reveal to a birthday, anniversary, graduation, Valentine's Day, or other special celebration. The cake appears to have one printed message or image on top. When the thin decorative layer is carefully burned away, a second image underneath becomes visible.
The secret behind this design is the combination of two different edible materials: a printed frosting sheet for the hidden image and a thin wafer paper layer for the reveal. An edible printer makes it possible to personalize both layers with photographs, messages, illustrations, or custom artwork.
If you are a home baker or professional cake decorator, you can create this effect without relying on preprinted designs. You can prepare the artwork yourself, print it using an edible cake printer, and assemble the layers to match your celebration theme.
This guide explains how to make a burn-away cake, choose the right edible paper, prepare your printed designs, and assemble the reveal effect with careful handling.
What is a burn-away cake?
A burn-away cake is a decorated cake with two printed layers. The top layer is made from thin wafer paper, while the lower layer is usually a printed frosting sheet containing the hidden message or image.
The wafer paper is designed to burn away under controlled conditions, revealing the printed frosting sheet underneath. For example, the top layer might display a simple birthday message, while the image below shows a photograph, a funny message, or a surprise announcement.
The effect works because the two materials behave differently:
- Wafer paper: A thin, starch-based edible sheet that can be used for the top reveal layer.
- Frosting sheet: A flexible layer of edible icing that carries the hidden image and adheres to the cake.
The contrast between these materials creates the reveal. The quality of the printed images, the spacing between the layers, and the way the paper is attached all affect the final result.
Supplies you need to make a burn-away cake
Before decorating, prepare the printing supplies, cake, and assembly tools. Having everything ready makes it easier to position the two images accurately.
Edible printing supplies
You will need:
- An edible printer compatible with food-grade edible ink
- Compatible edible ink cartridges
- Blank frosting or icing sheets
- Thin wafer paper suitable for the burn-away effect
- A computer or design application for preparing the images
An edible printer uses specially formulated edible ink to print designs on edible sheets. Do not use ordinary printer ink on materials intended to be eaten.
Cake decorating supplies
Keep these items ready:
- A prepared and cooled cake
- Buttercream frosting
- Piping bags and decorating tips
- An offset spatula
- Scissors or a food-safe cutting tool
- A ruler for measuring the printed layers
- A flat, clean work surface
You can use buttercream to create the border and support needed to position the top sheet. The cake should have a reasonably level surface so the printed layers sit evenly.
How to print the edible images for a burn-away cake
The printing stage determines how clear the reveal will look. A photograph with poor contrast or a design that is too small may not produce the desired effect.
Step 1: Create two separate designs
Start by preparing two images with matching dimensions.
Design 1: The hidden image
This is the image that appears after the top layer burns away. You could use:
- A birthday photograph
- A proposal message
- A graduation announcement
- A personalized illustration
- A surprise celebration message
Design 2: The top reveal image
This is the design printed on wafer paper. It should communicate the first part of the surprise or provide a visual cover for the hidden design.
For example, a birthday cake could have a simple printed message on the top layer and a photograph underneath. For a proposal cake, the top layer could say "A special question" while the lower layer reveals the actual message.
Keep both designs the same size and align important elements in corresponding positions. This reduces the chance of an uneven reveal.
Step 2: Choose the right edible paper
The two layers serve different purposes, so choosing the right material matters.
For the hidden image, use an edible frosting sheet. Its smooth, white surface helps produce clear images and vibrant printed colors. Frosting sheets are designed to adhere to suitable cake surfaces, including buttercream and fondant.
For the top layer, use thin wafer paper suitable for the intended burn-away technique. Wafer paper is commonly made using ingredients such as potato starch, water, and vegetable oil. Its structure differs from a frosting sheet, which is why the two materials behave differently.
You can explore Icinginks edible paper and frosting sheets to compare available sheet types and formats.
Step 3: Print both designs
Load the appropriate edible sheet according to your printer's instructions. Keep the frosting sheet attached to its backing while printing.
Before printing the final designs, check the following:
- Confirm that the printer is compatible with your edible ink.
- Check that the edible sheet is loaded in the correct direction.
- Select the correct paper size in your print settings.
- Use a high-quality print setting when available.
- Check the preview for cropping, alignment, and spelling.
- Print a test design if you are unsure about the dimensions.
Allow the printed sheets to dry according to the manufacturer's instructions before handling them. Avoid touching the printed areas with wet fingers.
If you are learning how to print on edible paper, you can also read our guide to printing edible images for cakes using frosting sheets and wafer paper.
How to prepare the cake and printed layers
A clean, level cake surface helps the lower image sit evenly and makes the final reveal look more polished.
Step 4: Frost and level the cake
Bake your cake, allow it to cool completely, and apply a smooth layer of buttercream. Level the top with an offset spatula so there are no large ridges or raised areas.
Let the frosting settle enough to support the printed decoration. The surface should be smooth, but it should not be excessively wet. Too much moisture can affect the printed sheet and make positioning difficult.
Step 5: Apply the hidden image
Carefully remove the backing from the printed frosting sheet, following the sheet manufacturer's instructions.
Position the hidden image on the prepared cake with the printed side facing upward. Start from one edge and gradually lower the sheet to avoid trapping air bubbles.
Smooth it gently without stretching or tearing the material. Make sure the entire image is supported by the cake surface.
Step 6: Create a support gap with buttercream
Pipe a neat buttercream border around the hidden image. This border helps create separation between the lower frosting sheet and the upper wafer paper.
The top layer should not be pressed directly against the hidden image. The spacing helps the reveal layer sit above the printed frosting sheet.
Keep the buttercream border consistent in height and avoid placing frosting over important parts of the lower design.
How to assemble a burn-away cake
Once the hidden image is in place and the support border is ready, prepare the upper layer.
Step 7: Position the printed wafer paper
Place the printed wafer paper carefully over the buttercream support border. Align it with the lower image so the two designs match.
Avoid pressing the wafer paper down onto the hidden image. It should rest on the support created by the buttercream border.
If the wafer paper is too large, trim the edges before placing it on the cake. Leave enough room for the border to hold the sheet securely.
Check the following before proceeding:
- The wafer paper is not touching the hidden image.
- The printed designs are aligned.
- The wafer paper is supported evenly.
- The edges are not folded or damaged.
- The top design is easy to read.
Step 8: Finish the cake decoration
Use buttercream piping to create a decorative border around the top layer. You can add small frosting details around the sides of the cake, but keep decorations away from the area where the reveal will happen.
Avoid using non-edible decorations that could accidentally catch fire. Remove candles, plastic toppers, ribbons, and other flammable materials from the working area before attempting the effect.
How to create the burn-away reveal effect
The reveal is the most important part of the cake. The top wafer paper is carefully ignited under controlled conditions, allowing it to burn away and expose the hidden frosting-sheet image.
This step requires particular care. Use only a suitable, thin wafer paper intended for this technique, and follow the material supplier's instructions. Have a responsible adult supervise the process. Keep hair, clothing, decorations, packaging, and other combustible objects away from the flame. Never leave a burning cake unattended or allow guests to handle the flame.
Do not use a flame near plastic backing, non-edible materials, or other parts of the cake that are not intended to be exposed to heat. If you cannot perform the effect safely in your setting, use a non-flame reveal, such as lifting away a removable top layer.
Once the top layer has been removed, inspect the cake before serving. Remove any remaining non-edible material or debris. Do not serve cake that has been contaminated by melted plastic, backing material, or other non-food items.
Common mistakes to avoid when making a burn-away cake
Even a well-designed cake can lose its visual impact if the materials are not prepared correctly.
Using the wrong paper: A regular frosting sheet is not a substitute for thin wafer paper in the top reveal layer. Choose materials based on their intended function.
Printing both images at different sizes: If the dimensions do not match, the hidden image may appear misaligned when revealed. Prepare both designs using the same canvas size.
Applying too much moisture: Excess moisture can affect the edible sheet and make it difficult to handle. Keep the cake surface smooth without making it wet.
Skipping the support border: The buttercream border creates the gap between the layers. Without it, the two sheets may sit too close together.
Handling printed sheets with wet hands: Moisture can damage the surface and affect the printed image. Handle sheets with clean, dry hands.
Ignoring flame safety: Never treat the burn-away effect as an ordinary cake decoration. Keep the flame controlled, supervise the process, and use a non-flame alternative if the setup is not safe.
Tips for getting a clean and clear reveal
A successful burn-away cake depends on preparation more than complicated decorating techniques.
- Use high-contrast artwork: Clear text and strong color differences help the hidden image stand out.
- Keep the designs aligned: Use the same dimensions and positioning for both printed layers.
- Choose a smooth frosting surface: An uneven cake can make the lower image appear distorted.
- Print at an appropriate quality: Use compatible edible ink and suitable print settings for detailed photographs.
- Handle wafer paper carefully: Thin sheets can crease or tear if bent or handled roughly.
- Prepare a test design: A small test helps you check image alignment before printing the final cake decorations.
- Plan the reveal before decorating: Know where the printed layers, support border, and finishing details will sit.
For the best results, choose materials that suit the cake design rather than treating all edible paper as interchangeable. Frosting sheets and wafer paper have different textures and uses, and that difference is central to this technique.
Create personalized cake designs with Icinginks
At Icinginks, we help home bakers, cake artists, and professional decorators create personalized edible designs with the right printing supplies. We offer edible printers, food-grade edible inks, frosting sheets, wafer paper, edible cartridges, and other cake decorating essentials.
Whether you are making a burn-away cake for a birthday or printing custom photographs for a celebration, we provide products to help you prepare your own edible designs. Our selection of edible cake printers supports different decorating needs, while our edible paper collection gives you options for printed cake decorations.
You can also explore our cake paints for adding hand-painted details and finishing touches to your designs.
We understand that choosing compatible printing supplies can be confusing, especially when you are trying a new cake decorating technique. That is why we offer a range of edible printing products for beginners and experienced bakers alike. Visit Icinginks.com to explore our collection and find supplies for your next personalized cake project.
Frequently asked questions
What is the best paper for a burn-away cake?
A typical burn-away cake uses thin wafer paper for the top reveal layer and an edible frosting sheet for the hidden image. The materials have different properties, so they should not be treated as interchangeable.
Can I make a burn-away cake with an edible printer?
Yes. An edible printer can print both the hidden image and the top design using compatible edible ink. You will need suitable edible sheets for each layer.
Can I use frosting sheets for the burn-away layer?
Frosting sheets are generally used for the image underneath because they adhere to the cake and provide a smooth printed surface. Thin wafer paper is commonly used for the top reveal layer. Always check that the materials are suitable for the intended technique.
What kind of edible ink should I use?
Use food-grade edible ink that is compatible with your specific edible printer and cartridges. Ordinary inkjet ink must never be used for edible cake decorations.
Can I print photographs on wafer paper?
Yes. You can print photographs and other designs on compatible wafer paper using an edible printer and suitable edible ink. Print quality can vary depending on the paper, printer, and design.
Why is there a gap between the two printed layers?
The buttercream border creates a small separation between the top wafer paper and the hidden frosting sheet. This helps keep the upper layer from resting directly on the lower image.
Is a burn-away cake safe to serve?
It can be served only when prepared with suitable food-grade materials and handled safely. Keep flames away from non-edible materials, supervise the reveal, and inspect the cake afterward. Remove any non-edible backing or debris before serving. If the cake has been contaminated by melted plastic or other non-food materials, do not serve the affected portion.
Can I use edible paint to decorate a burn-away cake?
Yes. Edible paint can be used for additional decorative details on suitable cake surfaces and edible sheets. Apply it carefully and allow painted areas to dry according to the product instructions. Keep paint away from the area used for the flame effect.