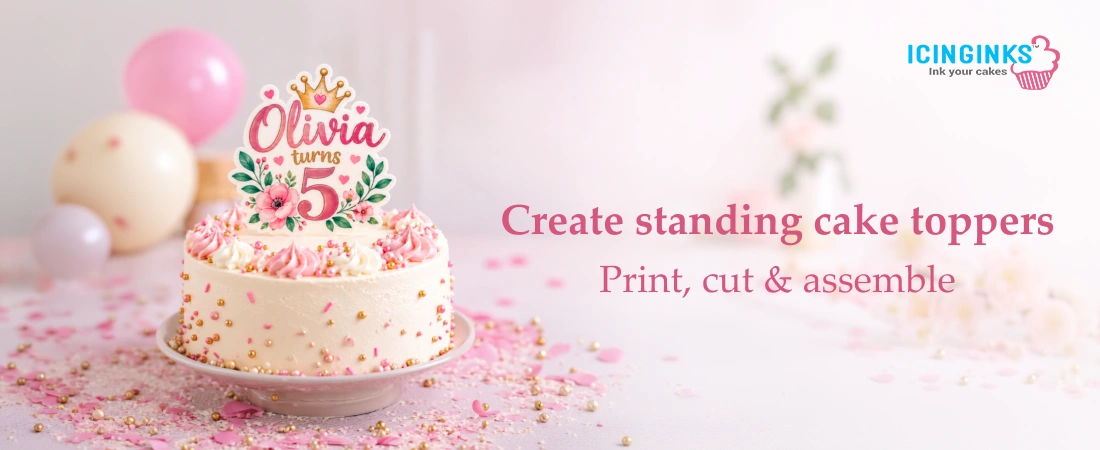
A cake can look beautiful sitting on the table, but what if its decoration could literally stand up and steal the show? Standing cake toppers add height, personality, and a professional finish to cakes without requiring complicated decorating techniques. The best part is that you can make them at home using thick wafer sheets and a few simple tools.
From names and numbers to characters, logos, floral designs, and themed artwork, you can turn almost any idea into a lightweight edible decoration. With the right thickness, careful cutting, and a stable base, you can create impressive cake toppers that stay upright while remaining completely edible.
What You Need to Make Standing Cake Toppers
Before starting your project, gather everything you need so you can work without interruptions. You will need a thick wafer sheet, an edible printer with food-grade edible ink, food-safe scissors or a precision cutting blade, a ruler, edible glue or royal icing, and a clean, dry work surface.
You will also need your design file if you are printing the decoration yourself. A laptop or design application can help you create names, numbers, shapes, illustrations, or other artwork at the correct size.
If you do not have an edible printer, you can use custom printing services to have your design printed onto an edible sheet. This can be especially convenient when you need detailed artwork, photographs, logos, or several identical decorations.
Choosing the Right Wafer Sheet
The thickness of your wafer sheet plays an important role in creating a standing decoration. While thin wafer paper works well for many cake decorating applications, a thicker sheet provides additional rigidity and is better suited for upright designs.
Icinginks offers wafer paper in several thicknesses, including 0.27 mm, 0.40 mm, 0.60 mm, and 0.80 mm options. The thicker varieties can provide the additional structure needed for larger or more detailed designs.
Wafer paper is made using ingredients such as potato starch, water, and vegetable oil. It is lightweight, can be cut into different shapes, and can be printed using food-grade edible ink. Unlike some decorating materials, it does not require a plastic backing that needs to be peeled away before use.
For a simple name or number, a medium-thickness sheet may be sufficient. For larger designs that need to stand tall, choosing a thicker option can make assembly much easier.
Plan Your Design Before Printing
A little planning can make the entire process easier. Start by deciding what you want your decoration to look like and how large it needs to be in relation to the cake.
Names, initials, ages, short messages, cartoon-inspired illustrations, flowers, geometric shapes, and logos are all suitable options. Try to keep the design balanced rather than making one side significantly heavier than the other.
Before printing, check the dimensions of the artwork. Remember that the finished decoration will need a support structure underneath it. Leave enough room around the main design for cutting and attaching the base.
For designs that need to look attractive from both sides, print two matching pieces and attach them together after printing. This can give the finished decoration a more polished appearance.
If you need professional-quality designs without handling the printing process yourself, custom printed cake toppers can be ordered through a suitable edible printing provider. This option is useful when you need consistent sizing, detailed images, or multiple copies of the same design.
Print and Dry the Edible Design
Once your design is ready, print it onto the wafer sheet using an edible printer and food-grade edible ink. Follow the printer manufacturer's instructions for loading the sheet to prevent feeding problems or damage.
After printing, place the sheet on a clean, flat surface. Give the ink enough time to dry before cutting or assembling the design. Handling the sheet too quickly can cause smudging or transfer ink onto your work surface.
Humidity can also affect wafer paper. Excess moisture can soften the material and cause it to curl. Keep the printed sheet away from steam, water, and damp surfaces while it dries.
When you are not working with the sheet, store it in a sealed bag or airtight container in a cool, dry area. Proper storage helps protect the material from moisture and humidity.
Cut the Topper Shape Carefully
Once the printed design is completely dry, it is time to cut it out. Place the wafer sheet on a clean cutting surface and carefully follow the outline of your design.
Food-safe scissors work well for simple shapes and rounded edges. For intricate designs, a precision food-safe blade can provide greater control. Take your time around narrow sections, corners, and small details because wafer paper can break if handled roughly.
If your design is large or needs additional strength, consider layering two pieces of thick wafer paper. Apply a very thin layer of edible glue between the sheets and press them together gently. Allow the layered piece to dry completely before cutting it.
This extra layer can provide additional rigidity without making the decoration excessively heavy.
Create a Stable Edible Base
The base is what allows cake toppers to stand upright instead of falling forward or backward. Fortunately, you can create a simple support using the same thick wafer sheet.
One easy method is to create a small tab at the bottom of your design. Cut a narrow strip of wafer sheet, fold it into a simple support, and attach it to the back of the decoration using edible glue.
You can also create a cross-shaped support. Cut two strips of thick wafer paper, make a slit halfway up one piece and halfway down the other, and slide them together. The resulting structure creates a stable base that can sit on the cake.
Make sure the adhesive has dried before testing the decoration. If the base is still soft, the design may lean or move once it is inserted into the frosting.
Attach the Topper to the Cake
Before placing cake toppers on your cake, check that the frosting or icing has enough stability to support the decoration. Extremely soft or wet frosting can introduce moisture into the wafer paper and cause it to soften.
Apply a small amount of edible glue or firm royal icing to the support base. Carefully position the decoration toward the center of the cake and press the base gently into the frosting.
For taller designs, keeping the decoration closer to the center can help maintain balance. Avoid placing an oversized topper too close to the edge, where it may become unstable.
Once positioned, leave the decoration undisturbed for a few minutes so the support can settle into the frosting.
Tips for Better Results
Creating standing decorations becomes much easier when you pay attention to a few small details.
Keep your design lightweight. An oversized or excessively heavy decoration is harder to balance.
Always check the dimensions before printing. A design that looks perfect on your computer screen may appear too large once printed.
Allow sufficient drying time between each stage. Rushing the process can result in curled edges, smudging, or weak adhesive joints.
Work in a dry environment whenever possible. High humidity can make wafer paper softer and more difficult to handle.
Use clean, dry tools and surfaces. Even small amounts of moisture can affect the sheet.
For repeated designs, create a template so you can reproduce the same shape and size consistently.
Why Thick Wafer Sheets Work Well for Standing Designs
Thick wafer sheets are particularly useful for upright decorations because they provide a combination of light weight and rigidity. This allows you to create cake toppers that add height without putting excessive weight on the cake.
Another advantage is versatility. The sheet can be printed, cut, layered, folded, and shaped according to your design. This gives bakers plenty of room to experiment with different styles.
They can also be useful for businesses producing customized cakes. Once you establish a few reliable templates, you can create repeatable designs for birthdays, weddings, anniversaries, baby showers, corporate events, and other celebrations.
Whether you are making one special cake or preparing multiple orders, thick wafer sheets can make the decorating process more manageable.
Turn Your Ideas Into Edible Designs with Icinginks
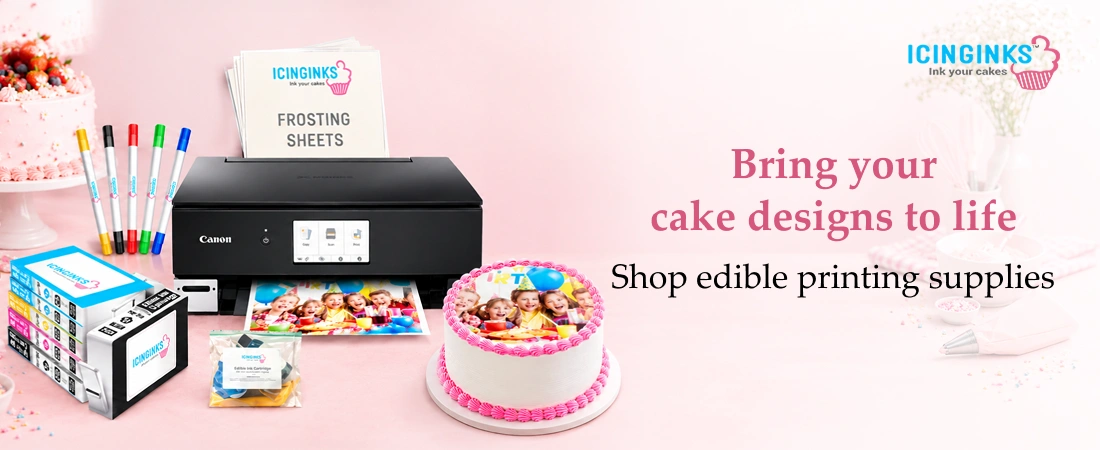
A great cake decoration starts with the right edible printing supplies. Icinginks brings together the tools and materials bakers need to transform creative ideas into edible designs, from wafer paper and frosting sheets to edible printers, edible inks, pens, paints, and other decorating supplies.
Our range is designed for both home bakers and professionals who want more freedom when creating personalized desserts. If you have a digital design ready, our custom printing options can also help turn your artwork into an edible decoration without requiring you to handle the printing yourself.
With multiple wafer paper thicknesses available, you can choose the option that works best for your project. Whether you are creating a simple birthday decoration or a detailed custom design, the right materials can make a noticeable difference in the final result.
Why settle for ordinary decorations when your next cake can feature a design made specifically for the occasion? Shop our range today and bring your edible cake decorating ideas to life with Icinginks.
FAQs
1. Can I use a regular wafer sheet for standing cake toppers?
Yes, but thicker wafer sheets are generally better for upright designs because they provide more rigidity. If you are using a thinner sheet, you may need to layer multiple pieces or add additional support.
2. How long should a wafer topper dry before I use it?
Drying time depends on the amount of ink used, humidity, and the design itself. Allow the printed sheet to dry completely before cutting and assembling it. Avoid placing it in a humid area during this process.
3. Can I order custom designs instead of printing them myself?
Yes. Custom printing services can print your artwork onto an edible sheet for you. This can be useful for detailed graphics, photographs, logos, personalized messages, and larger orders.
4. Are wafer sheets edible?
Yes. Wafer sheets are made specifically for edible food decoration. However, always check the ingredients, allergen information, and usage instructions for the specific product you purchase.
5. Can I make double-sided standing decorations?
Yes. You can print two matching designs and attach them together using a thin layer of edible adhesive. Let the pieces dry properly before adding the support base and placing the decoration on your cake.
Similar Post:
Edible Cake Toppers vs. Traditional Cake Decorations: Which is Better?
How to Use Edible Sheets to Make Edible Cupcake Toppers
Personalized Touches for Your Next Party: Elevate Your Cocktails with Custom Toppers
Where to Buy the Best Edible Cocktail Toppers Online: A Shopper’s Guide