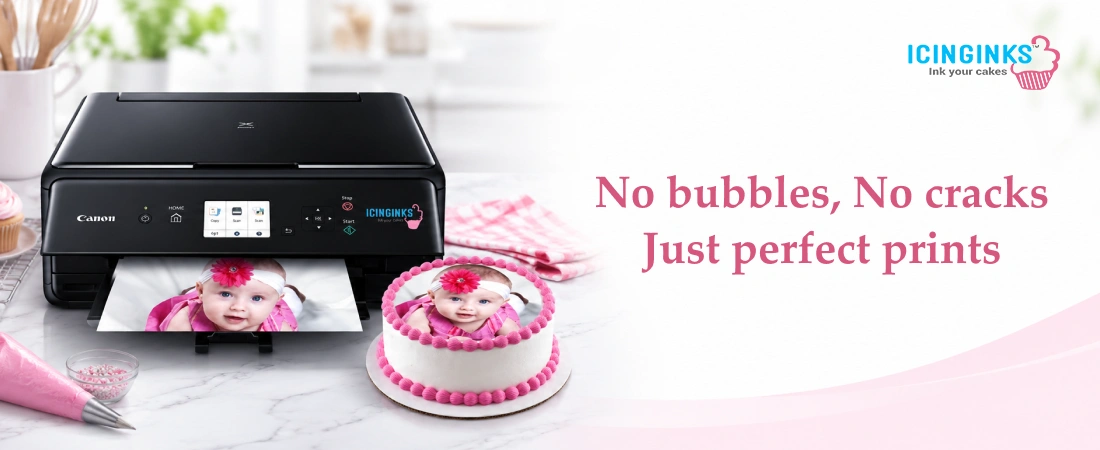
Applying an edible sheet to a cake looks straightforward until you peel back the backing and find air bubbles trapped, lifted edges, or cracks running across your carefully printed design. These are some of the most common frustrations in edible image decorating, and almost all of them come down to preparation, technique, and timing.
This blog walks you through everything you need to know to apply edible paper cleanly and confidently, without a single bubble or crack in sight.
Why do air bubbles and cracks happen in the first place?
Before fixing a problem, it helps to understand its causes. Air bubbles form when the edible sheet is placed onto the frosting without enough contact between the two surfaces, usually because the frosting is uneven, too firm, or applied too quickly.
Cracks, on the other hand, happen when the edible paper has dried out, been handled too roughly, or been applied to a surface that is too cold and rigid to allow the sheet to flex as it settles.
Both problems are entirely preventable with the right approach.
Prepare your frosting surface the right way
The single most important step in a bubble-free application happens before you even touch the edible sheet. Your frosting surface needs to be smooth, slightly tacky, and at the right temperature.
Different frosting types require different preparation. Buttercream works best when it is freshly applied and has had about 10 to 15 minutes to set. Too fresh and it is too soft, causing the sheet to slide. Too set and it loses its tackiness, making adhesion difficult. Fondant, being naturally dry, needs a light mist of water or a thin layer of piping gel before application; otherwise, the edible paper will not adhere properly and will lift at the edges. Royal icing must be completely dry before you begin. Applying an edible sheet to wet royal icing traps moisture beneath it, leading to bubbling and lifting over time.
Regardless of which frosting you are working with, always use a bench scraper or offset spatula to achieve the flattest, smoothest surface possible before placing the sheet.
Handle the edible sheet correctly before applying
Edible paper is sensitive to moisture, heat, and rough handling. Remove the sheet from its packaging only when you are ready to apply it. Extended exposure to air dries it out quickly and makes it prone to cracking. If the sheet has become dry or brittle, lightly mist the back with water from a spray bottle and wait 2 to 3 minutes for it to become flexible again before attempting to apply it.
Never fold or bend the sheet sharply. Roll it gently if you need to curve it, and always handle it by the edges to avoid fingerprints on the printed surface. Peel the plastic backing slowly and evenly, keeping the sheet flat as you go. Rushing this step is one of the most common causes of cracks.
The step-by-step application method for a bubble-free result
Once your surface is ready and your edible sheet is prepped, follow this method:
- Position the sheet above the cake surface before making contact, ensuring it is centered and aligned correctly
- Lower the sheet from the center outward, making contact with the middle of the cake first
- Use clean, dry fingertips or the flat of your palm to smooth outward from the center in all directions, pushing any air toward the edges as you go
- Work slowly and steadily. Rushing this step is what creates pockets of trapped air
- Once the sheet is fully in contact with the surface, use a soft fondant smoother or the back of a spoon to go over the entire surface with gentle, even pressure
- Trim any overhanging edges with a sharp pair of scissors or a craft knife for a clean finish
If a bubble appears after application, do not panic. Use a clean pin to pierce it at the edge, then gently smooth out the air.
How to avoid cracks during and after application
Cracks most commonly appear when the edible sheet is too dry, the surface beneath is too cold, or the sheet is being asked to wrap around a curve it cannot handle without preparation. If you are applying to a curved surface such as a round cake tier, score the back of the sheet lightly with a knife before application. This allows it to flex without splitting.
Never refrigerate a cake immediately after applying an edible sheet. The sudden temperature change causes the sheet to contract and crack. Wait at least 30 minutes at room temperature before placing it in the fridge. Store decorated cakes in an airtight container away from humidity, as moisture in the air can cause the sheet to absorb condensation and lose its crispness.
Using edible paint to finish and fix
Once your edible sheet is applied, edible paint is an excellent tool for refining the result. If edges have lifted slightly, a thin brush loaded with edible glue or edible paint can be worked underneath to re-bond them. If there are minor imperfections in the printed surface, edible paint in a matching color can be used to touch up the detail without affecting the rest of the design.
This is especially useful when working with images printed on an edible cake printer, where high print quality makes any surface imperfections visible once the image is on the cake.
Frosting sheets vs. wafer paper: Which is easier to apply?
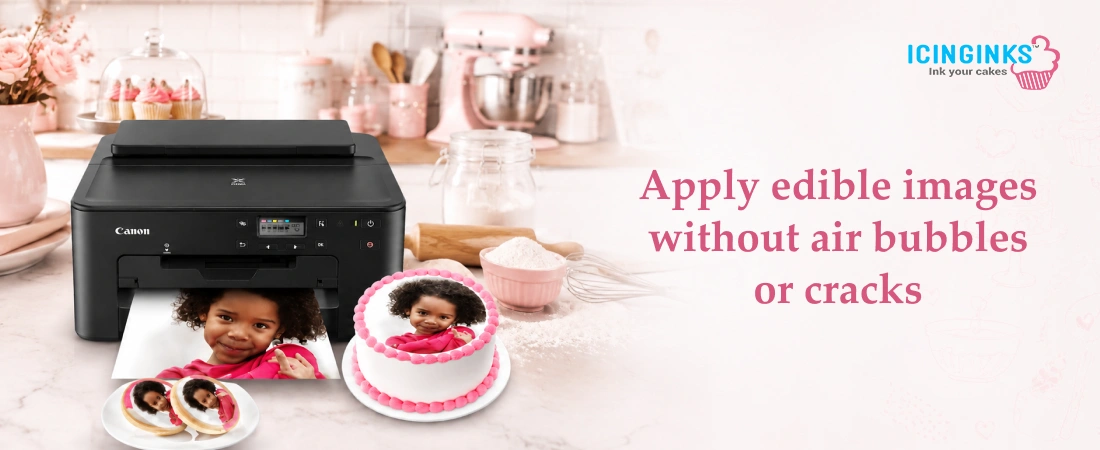
The two most common types of edible paper handle differently and suit different surfaces. Frosting sheets are thicker, more flexible, and bond directly to buttercream and fondant without any additional adhesive. They are the easier option for beginners and produce vibrant, photo-quality prints when used with an edible cake printer.
Wafer paper is thinner and more delicate. It does not dissolve into the frosting the way frosting sheets do, which makes it better suited to dry surfaces like royal icing or cookies. It requires a light mist of water on the back before application and should be handled with extra care to avoid tearing.
Get it right every time with Icinginks
Icinginks is a trusted name in edible printing supplies across the US, offering everything bakers need to apply edible images with professional results.
- We offer premium edible paper options, including frosting sheets, wafer paper, sugar sheets, shimmer sheets, and Flexfrost fabric sheets
- FDA-compliant, Kosher-certified, allergen-free, gluten-free, and dairy-free sheets designed for clean, vibrant application every time
- A full range of edible cake printer bundles from Canon and Epson, compatible with all Icinginks edible sheets
- Edible paint and edible pens for finishing, touch-ups, and hand-painted accents
- Edible glue for securing lifted edges and achieving a seamless bond on any frosting surface
- Lifetime technical support with every printer purchase
- Free ground shipping on US orders over $99
Every product we offer is made to work together so your edible images go on smoothly, look stunning, and stay in place.
Shop our full range of edible paper, edible sheets, and edible cake printer bundles at Icinginks today and apply every image exactly the way it was meant to look.
FAQs
Q1. What type of frosting works best for applying an edible sheet without air bubbles?
Buttercream is the easiest surface to work with. It is naturally tacky, bonds well with frosting sheets, and allows the sheet to settle into the surface without requiring any additional adhesive. Icinginks frosting sheets are specifically designed to bond seamlessly with buttercream for a smooth, bubble-free finish.
Q2. Why is my edible paper cracking when I apply it?
Cracking is almost always caused by the sheet being too dry. If your edible paper has been left out of its packaging, lightly mist the back with water and allow it to soften for two to three minutes before applying. Icinginks edible sheets should be stored in a sealed zip-lock bag in a cool, dry place to maintain their flexibility.
Q3. Can I apply an edible sheet to a cold cake straight from the fridge?
It is not recommended. Cold surfaces cause the edible sheet to contract and crack, and condensation from the cold cake can create moisture pockets beneath the sheet. Allow the cake to come to room temperature for at least 20 to 30 minutes before application for best results.
Q4. What is the difference between Icinginks frosting sheets and wafer paper for cake application?
Frosting sheets are thicker, more flexible, and bond directly to buttercream and fondant without additional adhesive. They produce vibrant, photo-quality prints and are ideal for beginners. Wafer paper is thinner and more delicate, better suited to dry surfaces like cookies or royal icing. Both are FDA-compliant, allergen-free, and gluten-free.
Q5. How does edible paint help when applying edible images?
Edible paint can be used to re-bond lifted edges, touch up imperfections in the printed surface, or add hand-painted details that complement the edible image. Icinginks offers a range of edible paint options including Poppy Paints and Sweet Sticks edible art paints, designed to work alongside printed edible sheets for a professional finish.
Similar Post:
How Long Do Edible Images Last on Cakes, Cookies, and Cupcakes? Baker's Guide
Icing Sheets vs. Wafer Paper vs. Chocolate Transfers: Which Is Best for Your Sweet Designs?
How to Store Edible Sheets for Image Decorations
What Are The Components, Qualities, and Uses of High-Quality Edible Papers?