Printed chocolates are a favorite of all. But apart from designing your chocolate pieces, you can also create a cake covered with decorated chocolate. All you need is a printed chocolate transfer sheet and some melted chocolate. Having an awe-inspiring wrapped-up Chocolate Cake for your birthday is undeniably incredible. The wrapped up Chocolate cake may seem complicated, but proper guidance will let you finish the process smoothly and excitingly. Here’s an expert ICINGINKS guide for you on using Chocolate Transfer Sheets to decorate the top of your cake wrap with Chocolate.
Before getting into the process, you must know what you are dealing with.
What Are Chocolate Transfer Sheets?
Chocolate transfer sheets are food-grade acetate sheets that can be printed using edible ink printers and also are available pre-printed. There are chocolate transfer sheets available in the market that comes with edible printing on them with cocoa butter. Icinginks Chocolate Transfer Sheets are made with a delicious layer of Cocoa Butter on acetate sheets that allows you to print them with any edible ink printer. Just print and put it on chocolates.
Ingredients For a Printed Chocolate Wrap Cake:
1. Chocolate Transfer Sheets
2. Melted Chocolate or, Tempered Chocolate
3. Spatula
4. Edible Ink Printer (Or, you can order custom printed chocolate transfer sheets)
Step-By-Step Procedure To Make Decorative Chocolate For Cakes:
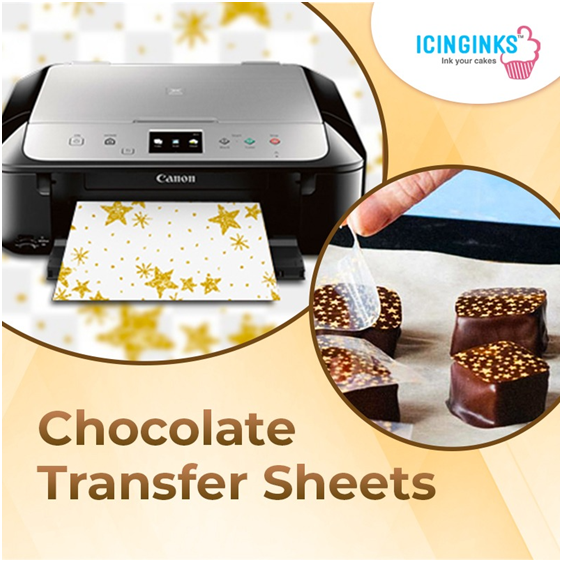
- If you are using the Icinginks blank chocolate transfer sheets, you are gonna need to print them. Chocolate transfer sheets are easily accepted by the paper feed tray of the Canon printers, running on edible inks.
- The printing must be done on the laminated part of the Choco Sheet with "mirror image" (T-shirt print) settings & set the print quality option to “High”.
- Make sure that the edible ink is completely dry on Chocolate Transfer (especially if you have a lot of black in your image) before pouring the chocolate.
- To transfer the design from the acetate sheets, spread the melted chocolate on the sheets. You can melt flavored chocolate candies, use tempered chocolate, etc.
- Spread an even layer of the chocolate on the printed chocolate sheet.
- Start by covering your cake with the Chocolate; use a metal spatula to spread the chocolate evenly on the cake.
- Wrap the sheet around the cake.
- Let the cake settle down and completely dry, forming a hard chocolate layer around the cake.
- Wait for the cake to settle down a bit but don’t let it become very hard.
- Depending on the coat, it takes 15 to 60 minutes for Chocolate Transfer Sheets to dry.
- Peel off the acetate sheet and you will get a visually beautiful, printed layer of chocolate around your cake. Enjoy!