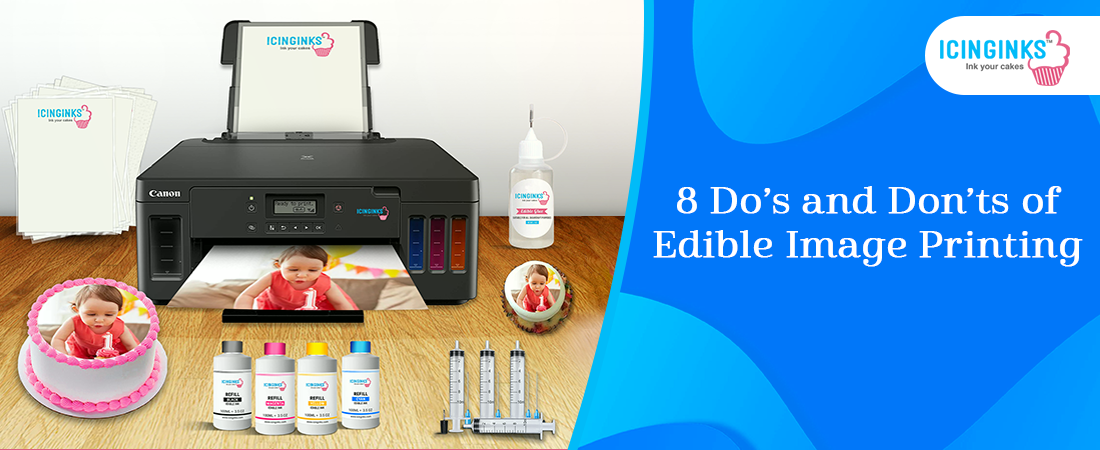
We al alt="8 Do’s and Don’ts of Edible Image Printing"l know that in the world of sweets, looks and taste are everything. But how can we take our cakes to the next level and make them stand out from the crowd? Enter— edible paper printing!
If you're dabbling in the world of edible paper printing, it's crucial to be extra mindful of how you use and implement it. With the health-conscious crowd rising, winning over your customer's trust and coming out on top in the confectionary game is important.
So, let's get creative and whip up some delicious goodies that look and taste amazing and leave us feeling guilt-free and glowing!
Here are some do's and don'ts of edible paper printing that you must consider:
Do's of Edible Image Printing
Get the Right Printer and Ink
Hey there, printing pals! Before you go ahead and print those edible sheets, listen up. You might think your trusty old home or office printer will do the job just fine, but unfortunately, that's not the case.
The header of these printers can't handle the task of diffusing the edible inks properly onto chocolate transfer sheets, frosting sheets, icing sheets, wafer paper, rice paper, fondant paper, or sugar sheets.
Always use a specialized fondant printer from a trusted retailer. And remember to check out the nutritional info of the ink you're buying, so you can be sure you're serving up a treat that's as good for you as it is delicious.
Find the Right Edible Sheets
When it comes to edible sheets, choosing those that food and drug regulators, such as the trusty FDA, approved is crucial. These certified sheets are made from top-notch, high-quality ingredients that are easy to digest and pass through a rigorous series of tests to ensure their safety for human consumption.
So not only do they make your baked goods look stunning, but you can also rest assured that they won't negatively impact your health.
Clean the Printhead of your Printer Regularly
If you're making some seriously delicious sweets, you know that having a reliable fondant printer is an absolute must. But did you know that you could be in for some seriously frustrating printing problems if you don't care for it properly?
One common issue is clogged printheads, which can happen if you leave your printer idle for too long, especially if you have edible cartridges installed. It leads to less-than-stellar prints, with dull colors or even missing lines altogether.
Follow the manufacturer's instructions to keep your edible printer running smoothly. And if you know you won't be using it for a while, try printing at least 1-2 pages per week to keep the ink flowing.
Keeping Image and Frosting Moistened
Moisture is key! A soft moisture layer should be between the edible image and frosting surfaces to get the best results.
But what do you do if your image has become dry and brittle? Easy peasy! Just grab a damp (but not dripping) paper towel, fold it into a square, and place it in the bag against the back of the plastic backing sheet (not on the image side).
Let it sit for an hour, and voila - your sheet is now nice and moist! Before slapping it onto your cake, let it air dry for about 20 minutes.
Don'ts of Edible Image Printing
Ignoring Quality Edible Food Colors
Aesthetics is an essential element of the baking industry, but it should not come at the cost of health. Artificial colorings are often made from highly active molecules interacting with body tissues, cells, and DNA. Ensure your edible printing sheets have colors sourced from natural sources – flowers or foods.
Choosing the Wrong Edible Sheets
The right edible sheets are crucial if you want to ensure your edibles are top-notch. Chocolate transfer sheets, frosting sheets, and more all have different ingredients, densities, and porosity.
So choose wisely and get those taste buds dancing! Picking the right one can save the taste of your creation.
Touching the Edible Image
Once the edible image has been on the cake for about 5 minutes, it starts blending with the frosting. If the edible image creases or rips while placing, gently rub the area back together. Do not touch the image; it will leave a visible fingerprint like frosting.
Incorrect Storage Method
Don't let your edible sheets go to waste. Keep them cool and dry, and never, ever freeze them. That'll make them dry and brittle.
Follow these simple steps, and your edible sheets will be ready to go when you are.
Check out our blogs for all the insider tips and tricks to edible paper printing style. At Icinginks, we believe in quality and offer a wide range of top-notch products - from edible sheets to frosting sheets to wafer sheets and fondant printers.
FAQs
1. How to print edible cake images?
You'll need an edible printer designed specifically for edible ink to print edible cake images. These printers use food-grade ink cartridges and edible paper sheets that are safe for consumption.
Follow the manufacturer's instructions for the printer and the edible sheets. Also, ensure that the surface of the cake is slightly moist before applying the edible image to ensure it sticks properly.
With the right equipment and techniques, you can create beautiful and tasty cake designs with Icinginks' edible images!
2. How do you print edible images?
Follow the steps below to print beautiful edible images:
Step 1: Choose an edible image design and ensure it is the right size and shape for your cake.
Step 2: Load the edible paper into your ink printer, following the manufacturer's instructions carefully.
Step 3: Print the image onto the edible paper using the appropriate software and printer settings.
Step 4: Allow the printed image to dry completely before handling or applying it to your cake.
Step 5: Apply a thin layer of frosting to your cake to create a surface for the edible image to adhere to.
Step 6: Carefully apply the edible image to the cake, smoothing out any wrinkles or air bubbles.
Step 7: Finish decorating the cake as desired.
3. How to make an edible image?
You'll need an edible printer, ink cartridges, and edible paper sheets to make an edible image.
First, select an image or design and upload it to your computer. Then, print the image onto the edible paper using the edible printer and ink cartridges.
Once printed, carefully peel the edible image off the backing sheet and apply it to your dessert. Allow the image to set for a few minutes before serving.
4. Can you use regular ink on edible paper?
No, regular ink should not be used on edible paper because it is not food-safe. It contains chemicals unsuitable for consumption and may harm your health.
Instead, you should use edible ink, specifically formulated on edible paper. The manufacturers design edible ink to produce vibrant, high-quality images on edible paper using natural and safe ingredients.
You can find high-quality edible ink of various colors on Icinginks online store.
More interesting blogs to read on Icinginks
How To Fix The Color Issues With Edible Image Printing
Icinginks Edible Image Printing Software
How to Create Cake Toppers using Edible Images and Wafer Paper