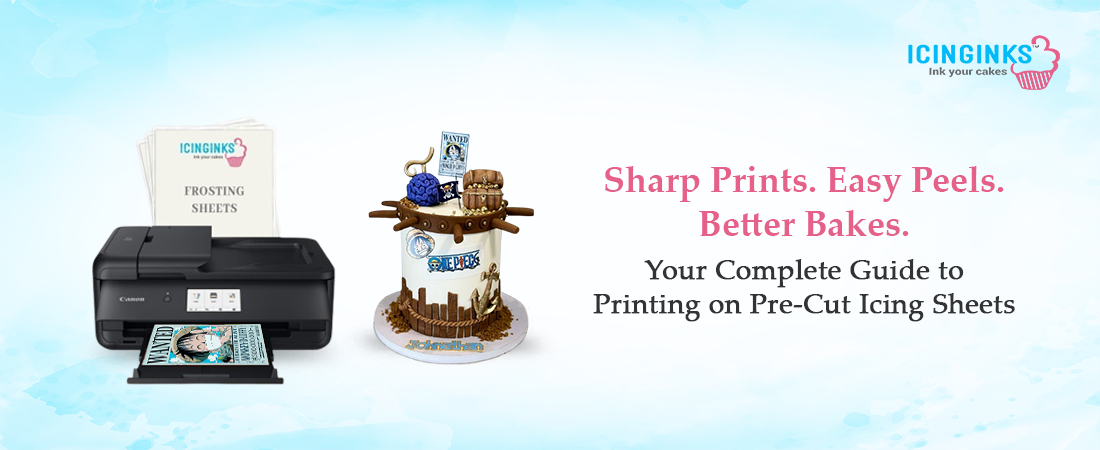
Printing on a pre-cut icing sheet can transform a plain dessert into a personalized masterpiece. Whether decorating cookies, cupcakes, or cake toppers, these ready-made sheets offer a neat and hassle-free way to add high-resolution edible prints. However, knowing the right techniques, tools, and tips is essential to achieve professional-quality results. This guide explores everything you need to get the most out of pre-cut edible icing sheets.
Understanding Pre-Cut Edible Icing Sheets
What Are They?
Pre-cut edible icing sheets are thin layers of icing backed by a plastic sheet cut into specific shapes, such as circles, squares, or rectangles. They’re designed to fit standard cookie or cupcake sizes and can be used with edible ink printers to create custom designs.
Why Use Pre-Cut Instead of Full Sheets?
Using pre-cut sheets eliminates the need to cut manually, reducing the risk of smudging or misalignment. They're especially useful for batch printing multiple identical designs and are ideal for beginners and edible printing professionals.
Choosing the Right Printer and Ink
Dedicated Edible Ink Printer
Invest in a dedicated printer for edible printing. Mixing regular and edible inks can lead to contamination and compromise food safety.
High-Quality Edible Ink
Use high-quality edible ink that is FDA-approved and compatible with your icing sheets. Always check the manufacturer's guidelines for optimal printing performance and color accuracy.
Printer Settings
- Set your printer to “High Quality” or “Photo Mode.”
- Choose the correct paper setting, such as “Glossy Photo Paper” or “Specialty Paper.”
- Always test print on regular paper before using your actual pre-cut edible icing sheets.
Image and Design Tips
Proper Resolution
Your images should have a resolution of at least 300 DPI (dots per inch) to avoid pixelation. The higher the quality, the sharper the printed result on your icing sheet.
Use Safe Margins
Design within safe margins to avoid cutting off important text or visuals at the edges of the pre-cut shapes.
Matching Shape and Design
Before printing, ensure your digital design matches the dimensions and layout of the pre-cut edible icing sheets. Many suppliers provide downloadable templates you can use to position your designs accurately.
Printing Process: Best Practices
Let the Sheets Adjust to Room Temperature
Store the icing sheets in a cool, dry place. Before printing, let them come to room temperature for 15–20 minutes. This helps improve ink absorption and reduce curling.
Load One Sheet at a Time
Only one pre-cut edible icing sheet should be loaded into the printer to avoid jamming or double feeding. Align it carefully to ensure it feeds straight and prints accurately.
Use Manual Feed Tray
If your printer has a rear or manual feed tray, use it. These trays provide a straighter path and reduce the chance of damaging or bending the sheet during printing.
Drying and Handling Printed Sheets
Let the Print Dry
Allow the printed sheet to air dry for 5 to 10 minutes. Do not touch the printed surface immediately, as it may smudge or transfer color.
Avoid Excess Moisture
Keep the sheet away from steam, humidity, or refrigeration. Excess moisture can cause the colors to run or the sheet to dissolve prematurely.
Application on Baked Goods
Ideal Surfaces
Use pre-cut edible icing sheets on smooth, dry surfaces like royal icing, fondant, or white chocolate. Buttercream can also work, but allow a slight crust to form before applying the sheet.
How to Apply
- Carefully peel the backing from the printed sheet.
- Place it gently on the treated surface.
- Smooth it from the center outward to remove any air bubbles.
Avoid moving the sheet once placed, as this can cause tearing or distortion.
Storage Tips for Unused Sheets
Reseal Properly
After opening the pack, reseal it in a ziplock bag or an airtight container along with a food-safe desiccant packet to maintain freshness.
Store in a Cool, Dry Place
Avoid exposure to direct sunlight, heat, or humidity. Store unused pre-cut edible icing sheets between 60–75°F in a dry environment.
Troubleshooting Common Issues
Ink Smudging
If ink smudges, check your printer settings and drying time. Too much ink or printing in a humid environment can also cause smudging.
Paper Jam
This often happens when the sheet is slightly warped or loaded incorrectly. Use the manual feed tray and keep the sheet flat during loading.
Faded Colors
Fading can result from low ink levels or outdated edible ink. Replace cartridges regularly and avoid using expired ink.
Creative Ideas for Using Pre-Cut Sheets
Branded Cookies for Events
Print company logos for promotional giveaways or corporate events using pre-cut edible icing sheets shaped to match your cookie cutter.
Personalized Party Favors
Design custom messages or character prints for birthdays, baby showers, or weddings to make your desserts unforgettable.
Seasonal Designs
Pre-design sheets for holidays like Christmas, Halloween, or Valentine’s Day. Having seasonal templates ready can save time and boost sales if you’re in the baking business.
Final Thoughts
Working with pre-cut edible icing sheets opens up a world of creative possibilities in edible printing. From vibrant cookie toppers to custom cupcake images, the key lies in understanding the materials and applying a few best practices. Whether you’re running a bakery or crafting treats at home, mastering these tips will help you achieve polished, professional-quality results every time.
With the right tools, designs, and care, pre-cut edible icing sheets can truly elevate your dessert presentation. Use them wisely and impress your guests or customers with edible art that looks as amazing as it tastes.
Print Better, Bake Smarter with Icinginks Edible Icing Sheets
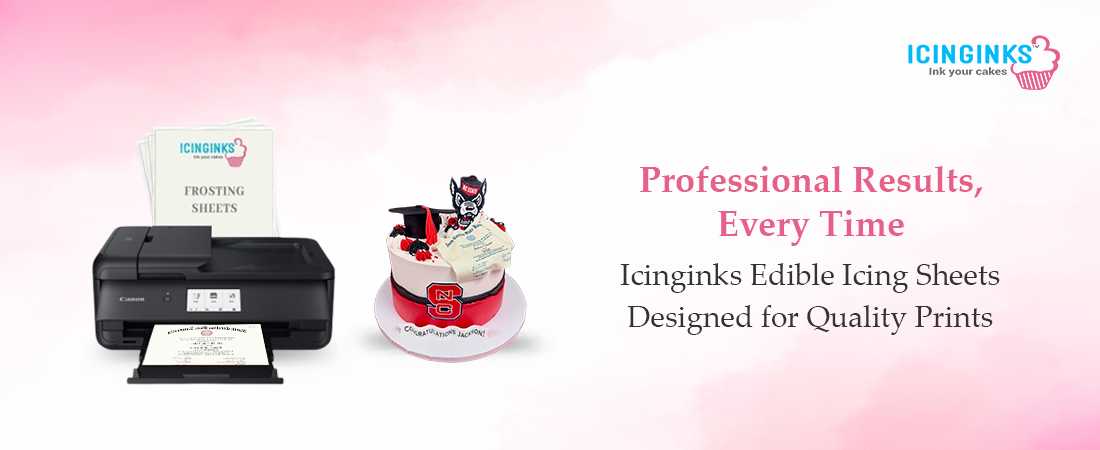
Looking for a reliable edible paper that works every time? Icinginks offers high-quality edible icing sheets made for sharp, detailed printing. They’re easy to peel, feed smoothly into printers, and give consistent results without cracking or smudging.
All Icinginks sheets are FDA-compliant, allergen-free, gluten-free, and made with safe ingredients. They also have a light vanilla flavor that blends well with any treat.
If you’re ready to buy edible paper online, Icinginks offers plenty of size and pack options to match your needs, whether you're baking for fun or running a custom dessert business.
Buy Now, Pay Later with Sezzle
Get what you need today and pay over time. Choose Sezzle at checkout to split your purchase into 4 interest-free payments. It’s a simple, flexible way to shop smarter, perfect for bakers working on a budget or planning for big orders.
Explore our range and find the right fit for your edible printing needs.
FAQs
1. What are pre-cut edible icing sheets used for?
Pre-cut edible icing sheets are used for printing edible images directly onto cookies, cupcakes, and small treats. They're ideal for uniform designs and save time by eliminating the need to cut manually. These sheets work with edible ink printers and offer sharp, colorful, food-safe prints.
2. Can I use regular ink for printing on edible icing sheets?
No, you must use edible ink cartridges specifically designed for food use. Regular ink is not food-safe and can be toxic. Edible ink is made from FDA-approved ingredients and is safe for consumption, making it the only option for printing on edible icing sheets.
3. How do I store pre-cut edible icing sheets?
Store them flat in a cool, dry place inside a resealable bag. Keep them away from heat, humidity, and direct sunlight. Do not refrigerate or freeze, which can affect texture and print quality. Proper storage ensures the sheets remain pliable and easy to peel.
4. Why is my edible print not sticking properly to the cookie?
The icing sheet may not adhere well if the surface is too dry or oily. To help the sheet stick, apply a thin layer of corn syrup, royal icing, or piping gel. Avoid using too much moisture, which can cause colors to bleed.
5. Can I print on both sides of a pre-cut edible icing sheet?
Only one side of the icing sheet is printable, the smooth, frosted surface. The backing stays attached until you're ready to apply the printed design. Always place the printable side facing up in the printer tray.
Related Post:
Pre-Cut Edible Designs: A Convenient Solution for Busy Bakers
Step-by-Step Tutorial: How to Use Icing Sheets with Your Edible Printer
How To Use Pre Cut Frosting Sheets Using Templates?