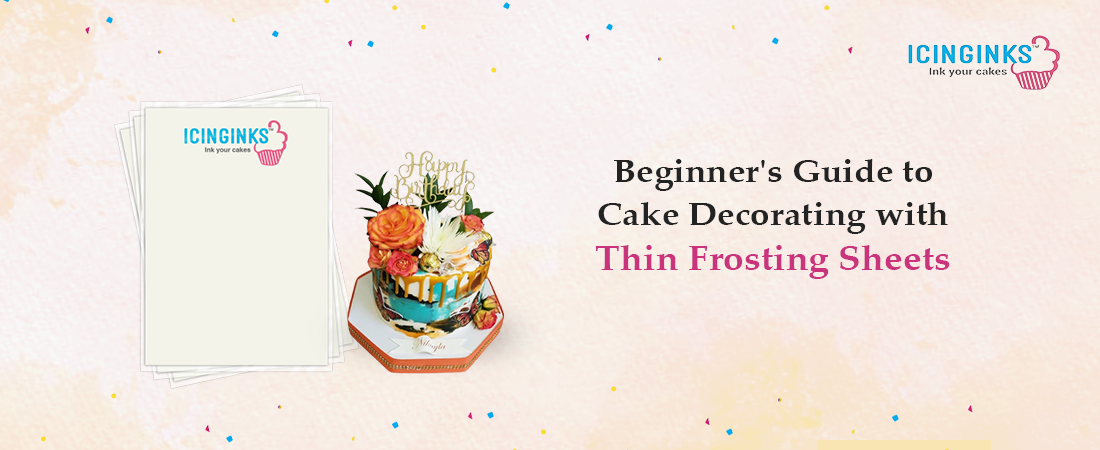
Forget spending hours perfecting complicated icing techniques or struggling with stubborn fondant. Thin frosting sheets offer a revolutionary way to achieve professional-looking cake designs without stress or mess. Thin frosting sheets have become a game-changer in the world of cake decorating, allowing beginners and professionals alike to create stunning and personalized cakes. Unlike their thicker counterparts, these sheets are incredibly thin and flexible, making them easier to work with and achieving a seamless, professional look on your cakes.
What are Thin Frosting Sheets?
Thin frosting paper is thin sheets made from starches and sugars specially designed for printing edible images. They are much thinner than traditional wafer paper, typically clocking in around 0.25 to 0.32 millimeters thick, making them incredibly flexible and easier to conform to the curves of your cake.
They are designed to produce vibrant, high-resolution images with minimal transparency, ensuring your cake designs truly pop. These frosting sheets typically come in standard printer paper sizes, most commonly A4 (210 x 297 mm) or letter size (8.5 x 11 inches), allowing you to create various designs to fit your cake.
Benefits of Using Thin Frosting Sheets
There are several advantages to using thin frosting sheets for cake decorating:
-
Professional-looking results
The thinness of the sheets allows them to blend seamlessly with your frosting, creating a smooth, polished finish that looks like a professional did it.
-
Versatility
Frosting sheets can be used on various cake surfaces, including buttercream, fondant, ganache, and cookies.
-
Easy to use
Even beginners can achieve impressive results with frosting sheets. They are relatively easy to cut and apply, requiring minimal decorating skills.
-
Customization
Printing any image onto frosting sheets opens a world of possibilities for cake design. You can personalize cakes with photos, logos, illustrations, or any design you can imagine.
-
Durability
Thin frosting paper is surprisingly durable. They can withstand light handling and storage without cracking or tearing.
What You'll Need to Get Started with Thin Frosting Sheets
Before you dive into decorating with thin edible frosting sheets, here's a list of essential items you'll need:
-
Thin frosting sheets
These can be purchased online or at specialty cake decorating stores.
-
Edible ink printer
While a regular printer can technically be used, edible ink printers are specifically designed to work with frosting sheets and produce food-safe images.
-
Image editing software (optional)
If you plan to personalize your frosting sheets with custom designs, you'll need software to edit your images. For instance, you can use the Icinginks Edible Image Software, which makes delicious edible creations with the power of pre-designed templates and easy-to-use editing tools.
-
Scissors or a craft knife
Cut out your desired shapes from the frosting sheet.
-
Paintbrush or sponge
To smooth out any air bubbles after applying the frosting sheet to your cake.
-
Rolling pin (optional)
This can help smooth out any wrinkles in the frosting sheet before applying it.
Using Frosting Sheets: A Step-by-Step Guide
-
Prepare your cake
Ensure your cake is frosted with a smooth and even layer of buttercream, fondant, or ganache. The surface should be completely chilled and set before applying the frosting sheet.
-
Design your image
If using a custom design, edit and prepare your image using image editing software. Ensure your image is mirrored, as it will appear flipped when printed on the frosting sheet.
-
Print your image
Load your ink printer with frosting sheets and edible ink cartridges. Following the manufacturer's instructions, print your image onto the frosting sheet. Let the printed frosting sheet dry completely, usually for about 20-30 minutes.
-
Cut out your image
Carefully cut out your desired design from the frosting sheet using scissors or a craft knife.
-
Apply the frosting sheet
Gently peel the backing off the frosting sheet. Position the image on your cake and gently press it down. Use a soft paintbrush or sponge to smooth out any air bubbles that may appear.
Creative Ideas for Using Frosting Sheets
Frosting sheets offer endless possibilities for cake design. Here are a few inspiring ideas to get you started:
-
Photo cakes
Print a cherished photo directly onto a frosting sheet to create a personalized and memorable cake.
-
Themed cakes
Bring your cake theme to life with printed characters, logos, or illustrations.
-
Banners and borders
Create custom borders or message banners for your cake using frosting sheets.
-
3D cake elements
Cut out shapes from frosting sheets and shape them into 3D cake toppers or accents.
-
Textured finishes
Use patterned frosting sheets to add a unique texture to your cake design.
Tips for Success with Frosting Sheets
-
Work in a cool and dry environment
Humidity can cause the frosting sheet to become sticky and difficult to handle. Aim for a room temperature between 60-70°F (15-21°C) with low humidity.
-
Handle with care
Thin frosting sheets are delicate, so be gentle to avoid tearing or smudging the printed image.
-
Use a sharp blade
Use scissors or a craft knife to ensure clean and precise cuts when cutting out your design.
-
Less is more
When applying the frosting sheet, avoid over-handling it. Once positioned, gently press it down to adhere.
-
Store frosting sheets properly
Store unused ones in their original packaging in a cool, dry, and dark place. They typically have a shelf life of around 12-24 months.
Transform Your Cakes into Edible Masterpieces with Icinginks Superior Thin Frosting Sheets!
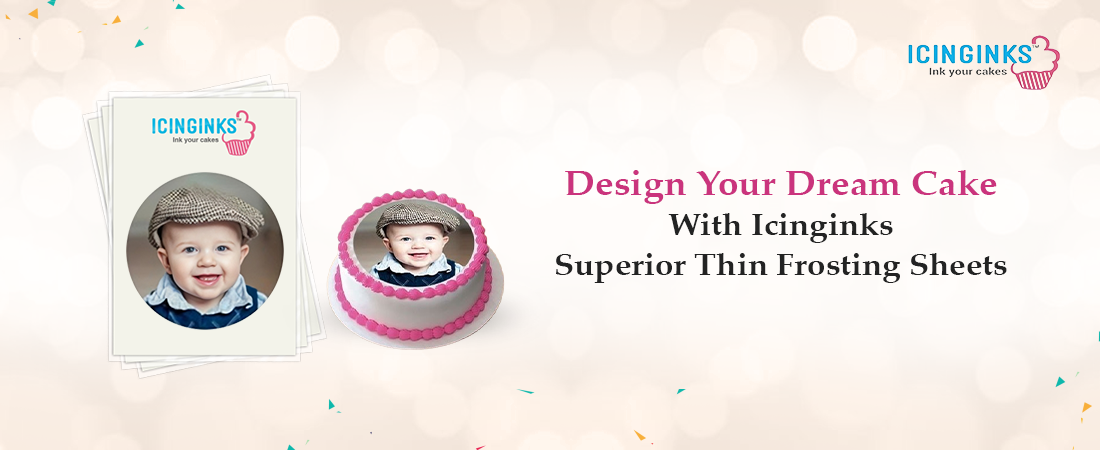
Want to create stunning, personalized cakes without the hassle? Icinginks edible thin frosting sheets are the answer!
These ultra-thin (0.32mm) sheets are more flexible and easier to use than traditional icing sheets, allowing for flawless application and a smooth, professional finish on any cake surface - buttercream, fondant, chocolate, you name it!
Icinginks Edible Ink and Edible Printers allow you to create custom edible images, logos, or photos easily! Our frosting sheets are Kosher certified, FDA compliant, and free from common allergens, making them a delicious and safe way to personalize your cakes. Impress your loved ones with a one-of-a-kind creation - visit Icinginks today!
FAQs
-
Are thin frosting sheets the same as wafer paper?
Although both are edible sheets used for cake decorating, thin frosting sheets are much thinner (around 0.32mm) and more flexible than wafer paper. This makes them easier to work with and conform to the curves of your cake, creating a smooth, seamless finish.
-
What kind of frosting can I use with thin frosting sheets?
Thin frosting sheets are versatile and can be applied to various frosting surfaces, including buttercream, fondant, ganache, and whipped cream!
-
Can I use a regular printer with thin frosting sheets?
Technically, you can use a regular printer. However, using an edible ink printer specifically designed for frosting sheets is highly recommended. Edible ink printers produce food-safe images with vibrant colors and minimal transparency, ensuring your cake designs truly pop.
-
How long do thin frosting sheets last?
When stored properly in a cool, dry, and dark place in their original packaging, thin frosting sheets typically have a shelf life of around 12-24 months.
More interesting blogs to read on Icinginks
Custom Frosting Sheets vs. Traditional Cake Decorations: Pros & Cons
How to Use Frosting Sheets
How To Color, Cut and Apply Frosting Sheets
Customizing Your Clear Frosting Sheets with Your Own Designs and Logos
Pre-Cut Edible Designs: A Convenient Solution for Busy Bakers