Ever wondered if you could get anything special printed on your very favorite Oreo cookie for any party or celebration?
Now customize the goodness of Oreos for any celebration. It’s Easy Peasy Lemon Squeezy!
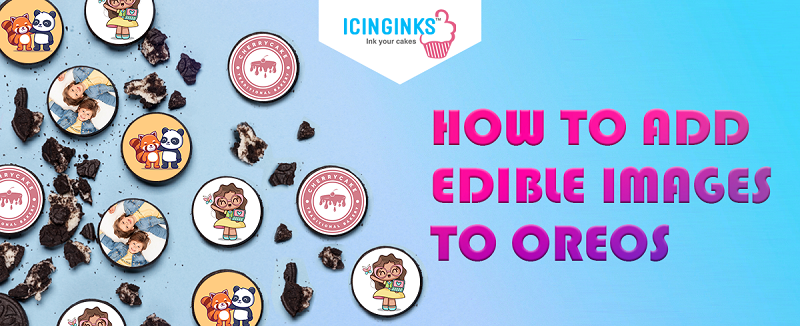
There has always been a drool over delicious and gorgeous Oreo Cookies with edible images on them. They are so pretty and appear as if they are a lot of work. Recently, we at Icinginks challenged ourselves to make some, and we discovered that they are not at all difficult and you don’t even need anything distinct.
Step:1 Melting the Chocolate
Start with melting the chocolate. Melt your preferred chocolate for 30 seconds in the microwave. Remember to take it out and stir after 30 seconds. Repeat the process till the chocolate melts completely. To avoid bubbles and lumps, stirring the melting chocolate is a vital step!
Step:2 Adding the edible images to the cookie
Considering the regular Oreo cookies and your favorite chocolate; cut the edible images of the perfect size printed from the edible ink printing paper and edible printer sheets (edible paper for cookies). Removing the backing sheet and put these edible sheets in the mold.
Using the teaspoon, or the fork, carefully put the required quantity of chocolate as you dip and cover the Oreo cookies and place them into the mould (already containing the edible images) before the chocolate sets and cools. Then tap the mould to get any air bubbles out and scraping off any excess coating.
Now, mildly push it into the mould as this helps the chocolate to get up to the sides of the Oreo/cookie. Not pushing too hard, because then you might as well see the cookie through the chocolate on the other side.
Step:3 Freeze with Ease
Tick-tock, tick-tock… It doesn’t take much time for the Oreos to set. But yes, when you are craving to eat one, it appears like forever!
Then place the mould into the freezer for around 5 minutes to harden. Remove the mould and turn over releasing the cookies.
Now, isn’t that easy? And they are so pretty and delicious. Ready to be served at your party. Carefully tap the mould on the counter to smooth it out. Creating a mess is elective, but oh so fun!
Top it off with a little bit more chocolate if required after-all Chocolate is happiness that you can eat.
Ding! Your Printed Oreos are ready! Wrap them up as a present or showcase on a platter for your guests to enjoy. These are surely going to be a gift of love and deliciousness to yourself and others. Be the boss of the party with these aesthetically great and yummy Oreo cookies!
TIP: Flip the mold over and tap on the counter, if your chocolates do not pop right out, it is not ready. Put them back into the freezer. Enjoy!