If you want to create your cake or any other confectionary item for a family or social celebration, but think you can’t make it impressive, you could be wrong! Spare a few minutes to learn the decoration idea using edible ink and derive the confidence you need.
1. Get Everything at One Place
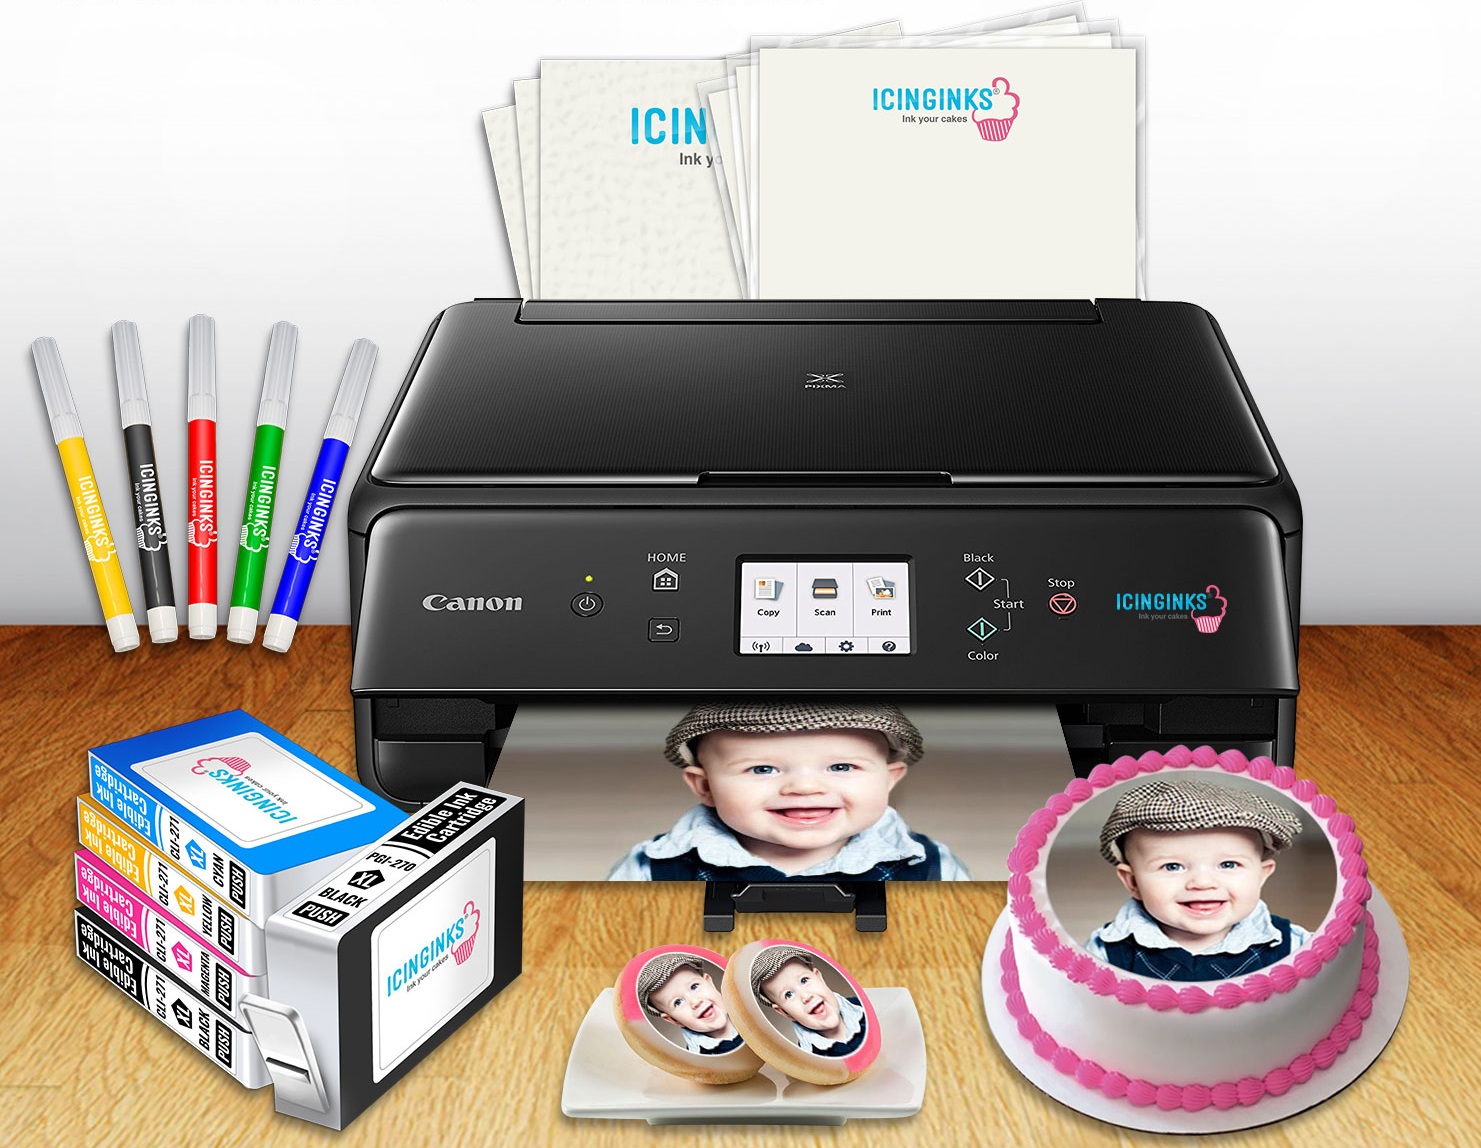
From edible food printer to edible ink printer sheet to edible ink itself – you need all to print pictures you want on your cake or food. When you invest in edible supplies, you should be a little smart. Do not get tempted by lucrative offer. Instead, buy what you need. Going with a combo printer offer that helps you get all at the best price is always a wise thing to do rather than ordering edible supplies separately.
 2. Select Cake or Food Ingredients Wisely
There are a lot of creative ideas you can experiment with your edible ink. However, to make sure that the ink doesn’t get bloated or smeared on your cake surface, pay heed to the ingredients you use in creating it, particularly the topper where you are going to spend most of your effort. A dry or less moistened surface is ideal. It cuts the time of food decoration as the ink dries fast and you can go easily with a multi-layer decoration.
3. Get the Desired Edible Image
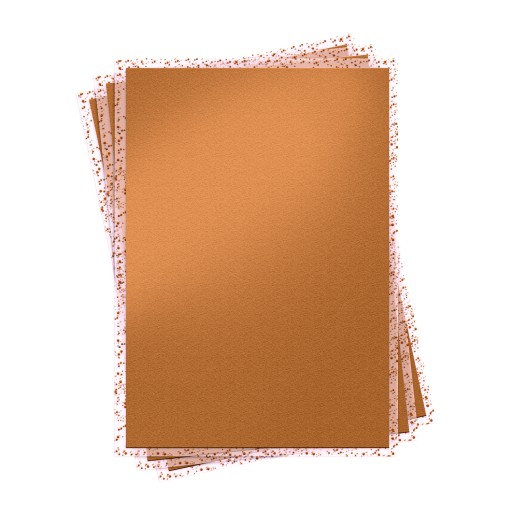
Use your edible printer to get the image of your choice on the frosting sheet. Choose a blank sheet or a sparkling or glitzy sheet to match the theme of decoration. Using chocolate transfer sheet is also an alternative if you have a chocolate cake to decorate. From nature to pop-culture to entertainment world, there are many sources to draw inspiration from. Internet is there to make your job easier. Get your imagination transferred to the frosting sheets.
 There is nothing to worry even if you are doing it for the first time. Place the frosting sheets in your edible printer just like normal paper, and print any image you desire, using Icinginks edible ink. Once the printing is over, let the frosting sheet dry for least 6 - 12 minutes.
4. Transfer the Edible Image to the Cake
Remove the plastic backing from the sheet before you place it on your cake or other food item. Pat it down gently on the food surface to make sure no air bubbles get trapped underneath the sheet. Air bubbles may distort the image. Leave the edible sheet for about 20 to 30 minutes on the food. This will help the edible image to get absorbed into the food and became a part of it.
5. Be Gentle while Removing the Sheet from Backing
Frosting sheets or icing sheets absorb moistures either from the environment or the ink you use, which make it difficult to remove them from the plastic backing. Dry your sheet at least 10 - 15 minutes. If you have hard time removing the backing cover, place the printed edible image in freezer for 30 minutes. The removal will be super easy.