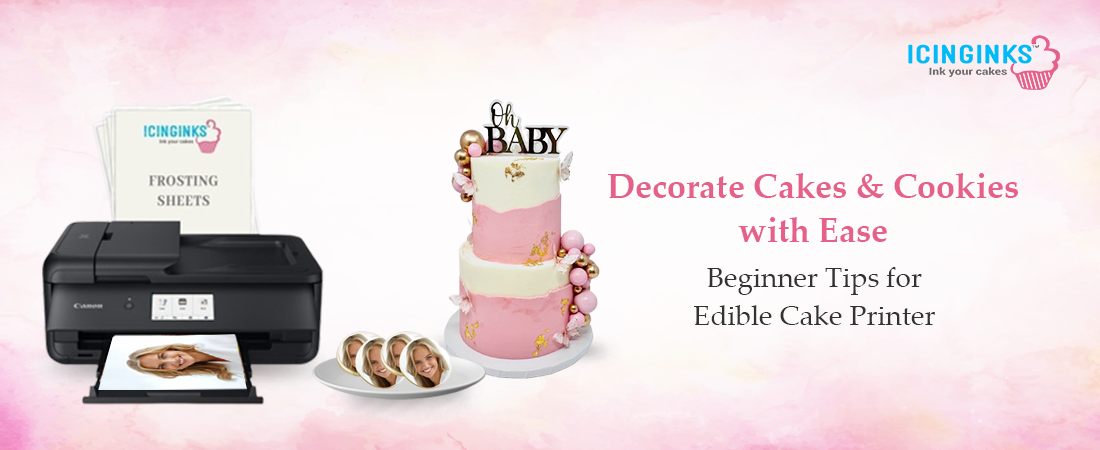
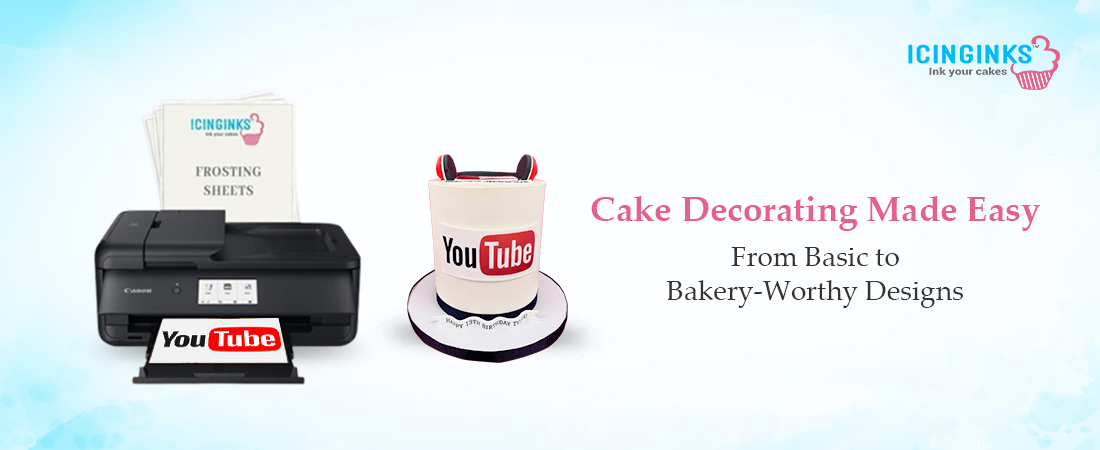
Decorating cakes and cookies has evolved from simple icing swirls to personalized edible artwork. Whether you're preparing a themed birthday cake or creating festive cookies for special occasions, the decoration adds charm and creativity to your baked goods. With the right tools and techniques, even beginners can create professional-looking treats. One of the most exciting tools in modern baking is the edible cake printer, which allows you to transfer high-quality edible images directly onto cakes and cookies.
1. Pick the Perfect Baking Shape
Great decoration starts with a well-shaped base. Choosing the right pans and cookie trays helps you achieve smooth, uniform surfaces. Straight-edge cake pans ensure defined sides, while shaped trays allow you to experiment with fun cookie designs. A good shape creates a canvas that makes decorating easier and more visually appealing.
2. Bake with Attention to Detail
Baking your base correctly is crucial. Always preheat the oven and position the rack in the center for even heat distribution. Test your cake or cookie with a toothpick before removing it from the oven to ensure it's fully cooked. When it comes out clean, the baking is done. Let everything cool completely before decorating, as applying anything to a warm surface can cause smudging or melting, especially when using designs printed from an edible cake printer.
3. Line with Parchment for Clean Release
To ensure your cakes or cookies don’t stick to the pan, line the bottom with parchment paper. This helps maintain a smooth and flawless surface, which is essential when applying decorative elements. Pre-cut parchment is convenient and comes in various sizes, making the process hassle-free and beginner-friendly.
4. Build on a Stable Base
Once cooled, transfer your baked goods to a cake board or a serving platter. These provide a strong foundation for decorating and moving your treats. If you're planning to stack tiers or transport the cake, a thick drum helps keep it steady. A stable base is especially useful when adding more intricate decorations that require precise placement.
5. Use a Turntable for Easy Decorating
A turntable allows you to rotate your cake while decorating, which helps apply even frosting and borders. Instead of moving around the cake, you can simply spin it to reach all sides. This tool enables you to get a polished, professional look without smudging your work or creating uneven lines.
6. Print Custom Toppers with Frosting Sheets
Frosting sheets let you create custom cake toppers featuring images, text, or designs that match your celebration theme. You can print directly onto them using an edible cake printer and then apply the sheet to your cake or cookie. These edible sheets blend into buttercream or fondant surfaces, giving a clean, printed appearance.
7. Add Final Touches with Edible Marker Pens
After applying your main design, you can enhance it using an edible marker pen. These pens are filled with food-grade ink and can be used to draw borders, write names, or highlight shapes on frosting or fondant. They give you extra control over small details and help you personalize each creation.
8. Work with Precision Tools
Besides pens and sheets, having tools like offset spatulas, piping tips, and brushes can make your decorating smoother. These help with spreading frosting evenly, adding textures, and placing elements accurately. You can even use stencils to achieve clean patterns and outlines.
9. Experiment with Layering and Colors
Layering different colors and textures brings depth to your decorations. You can use whipped cream, fondant, royal icing, and sprinkles to build visual interest. Ensure each layer is set before adding the next. A properly cooled and firm surface is always better for applying edible elements.
10. Practice Your Skills Regularly
Decorating gets easier and more fun with practice. Start by mastering basic piping techniques and smooth frosting applications. Over time, try more detailed designs, such as flowers, cartoon characters, or printed photo cakes. You can build your skills gradually and eventually feel confident working with tools like the edible cake printer.
11. Plan Your Design Before You Begin
Before jumping into decorating, sketch or plan your design. This helps avoid mistakes and ensures your elements are balanced and placed correctly. For printed decorations, make sure the size and shape fit your cake’s surface. Taking time to plan can save effort and reduce waste.
12. Apply Printed Decorations Carefully
If you're using a printed image, handle it gently. Place it onto the cake slowly and press it lightly to avoid wrinkles or bubbles. It’s best to apply printed decorations in a cool, dry environment to ensure they adhere evenly without bleeding or fading.
Conclusion
Decorating cakes and cookies may seem overwhelming at first, but with the right tools and guidance, anyone can master it. Simple techniques, such as using parchment paper and a turntable, can dramatically improve your results. For more advanced and personalized designs, tools like the edible cake printer offer unmatched creativity. Whether you’re decorating for fun or turning your passion into a business, investing time in learning these basics will give your baked creations a professional touch.
Transform Your Creations with Icinginks Tools for Next-Level Cake Decorating
Take your decorating skills to the next level with professional-grade tools from Icinginks. Whether you're a home baker or a cake artist, our edible cake printer systems allow you to print high-resolution images directly onto cakes, cookies, and cupcakes using FDA-compliant edible ink. It’s the easiest way to add personalized, photo-realistic touches to your baked treats.
Pair your designs with our vibrant edible marker pen sets, perfect for outlining, detailing, and adding hand-drawn elements to your frosting or fondant surfaces. The pens offer a smooth flow and precision, made with food-safe ingredients.
Explore our full range of edible sheets, inks, and decorating accessories designed to help you create stunning, professional-looking desserts with ease and confidence.
Similar Post:
Essential Tips for Edible Printer Maintenance – A Must-Read!
How to Improve the Quality of Your Edible Images
Edible Printers: The Ultimate Tool for Crafting Customized Cakes that Impress!
How to Choose the Right Edible Paper for Your Edible Printer?