Have you ever encountered a frustrating situation while removing the plastic backing layer from an edible image printed on a frosting sheet? Don’t worry, it is a common issue. We provide you with a permanent solution to it while resolving its various issues. We will mention some techniques for it. Both simple Frosting sheets and Pre-Cut frosting sheets contain an inedible plastic backing layer. What causes the icing to stick to its plastic backing layer?
- Room conditions: The humidity content in your room becomes the main reason for getting frosting sheets stuck to its backing. The icing coating on a frosting sheet generally contains gums that collect moisture and clings to the plastic backing layer.
- The thickness of frosting sheet: If you have a thin frosting sheet then, it is difficult to remove its backing plastic layer as thin frosting sheet is more fragile to crack. You must opt for thick frosting sheets instead of the thin ones. It ensures an easy removal of its plastic backing layer.
How to remove backing layer from an edible image printed on a frosting sheet?
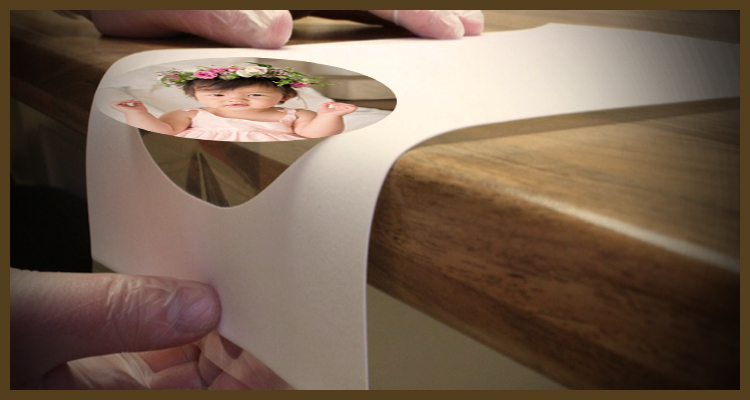
- Use a table edge: The Icing coating on the plastic backing layer, generally peel away as you bend the sheet. Take care while bending it. If it contains an edible image then, it may crack because the frosting on it is very delicate. You may run the plastic backing sheet back and forth over the edge of a table’s corner. You will see it will start to loosen its hold on the plastic backing.

- Keep it in a fridge: It is a handy way of removing the image from the plastic backing layer. You must keep it in a freezer for about one and a half minute. The freezer generally contains low humidity but cold temperature. Remove the frosting sheet from the freezer and quickly peel the image off the backing sheet.
- Warm up it with a hairdryer: You may also use a hair dryer for a minute or two to dry it out. Apply a gentle blowing of the warm air on the surface of the frosting sheet to avoid breakage of the image on it. Gently remove the picture while leaving behind its backing layer.
- Place it on a heating mat: If you are regularly working with the edible images and often face the issue then, you must use a heating mat for it. You may place the edible image on it for around 10 minutes and you will see that the sheet has released its moisture and its backing layer peels away naturally. 5. Let it Dry in a fan oven: You may place the frosting sheet with an edible image in a warm fan oven for 1 or 2 minutes. The warmth will slowly remove the moisture that associates the icing to the backing of its plastic layer. The picture will easily be detached from its backing layer.

Some Important tips for using frosting sheets:
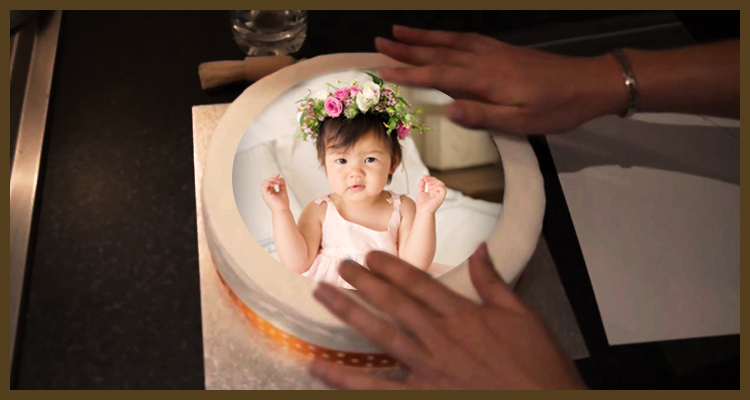
- It is important to remove the plastic backing layer from the printed image on a frosting sheet, just before placing it on a cake’s top.
- If you’ve used a wafer paper sheet then, there is no requirement of removing any backing layer because wafer sheets do not have any plastic backing layer.
- If you use frosting sheets then, make sure that the entire plastic backing layer is removed from its backside or not. Sometimes a piece of the plastic backing layer may remain attached to it.
- The image that printed by an edible printer on the frosting sheet is edible, while contrary to this, its backing plastic layer is always inedible.
- Most of the professional bakers are skilled in removing it easily, however, some unprofessional individuals may face some problem while dealing with it due to lack of the practice.
- The pre-cut frosting sheets are very suitable for an easy separation of the printed images on it as compared to the simple blank frosting sheets.


