Take your branding to a whole new level with Icinginks' custom edible logo cookies. Our edible images for cookies are made with high-quality ingredients and are a perfect match for any celebration.
From birthday parties and weddings to corporate events, these personalized cookies stand out, leave a lasting impression on your guests, and sweeten up your moments.
There are several methods to create custom edible logo cookies using frosting sheets, but the application of these sheets differs in each technique. Here we are sharing one of the methods we like the most and the easiest and neat way to make logo cookies.
So let's get ready to bake:
Step 1: Choose Your Cookie Recipe
Decide on the type of cookie you want to use as a base for your design. You can use any cookie recipe, such as sugar cookies, gingerbread cookies, or chocolate cookies.
Step 2: Bake the Cookies
After you have decided on your cookie recipe, bake your cookies according to the recipe instructions. Ensure your cookies have cooled down completely before moving on to the next step.
Step 3: Choose Your Frosting Sheets or Wafer Paper
Select the frosting sheets or wafer paper you want for your design. You can purchase these sheets from any craft or baking store or order them online.
Note: We offer pre-cut frosting sheets or wafer paper specifically designed for cookie decorating. It means you won't have to cut the frosting sheets after printing. Have a look here: https://www.icinginks.com/Edible-paper/Pre-Cut-circles-edible-frosting-sheets
Step 4: Design Your Logo
Use any design software or program to create your desired logo or image.
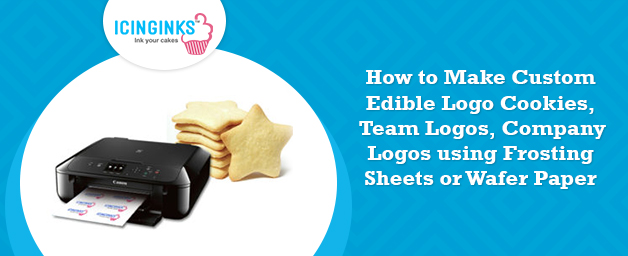
Step 5: Print the Logo
Once you have created your design, print it onto the frosting sheets or wafer paper using an edible printer compatible with edible ink.
Note: We offer high-quality, durable and easy-to-use edible printers at affordable prices. Visit our website and check out our edible printer section (https://www.icinginks.com/edible-cake-printers).
Step 6: Apply the frosting sheet or wafer paper
Cut out the printed logo from the frosting sheet or wafer paper, place it onto the cookie, and gently press it down to adhere it to the cookie.
Step 7: Allow the Frosting Sheet or Wafer Paper to Set
Apply the frosting sheet or wafer paper, and let it set for a few minutes to ensure it sticks to the cookie.
Step 8: Store the cookies
Once the frosting sheet or wafer paper has been set, store your cookies in an airtight container until you are ready to serve them.
Conclusion
Edible images for cookies are a unique, delicious and memorable way to promote your brand at corporate events and trade shows or make any occasion extraordinary.
Check out our website for superior custom edible logo cookies. We have a team of experienced bakers who are self-motivated and will assist in converting your creative ideas into a reality.
Get in touch! Create unforgettable memories with your loved ones today! Make your brand stand out and party captivating with Icinginks!